Run Windows 11 Client ARM64 Insider Preview in Apple Silicon (M1, M2, M3) with VMware Fusion
By Luca Berton · Published 2024-01-01 · Category: installation
Emulating Windows 11 Client ARM64 Insider Preview on Apple Silicon (M1, M2, M3) through VMware Fusion.
Introduction
ARM-based processors have transformed the computing landscape, introducing greater efficiency and performance to various devices. Apple has been at the forefront of this revolution with its Apple Silicon lineup, including the M1, M2, and potentially M3 chips. Windows enthusiasts who own these devices might be excited to explore the possibility of running Windows 11 on Apple Silicon using the ARM64 Insider Preview. This article will delve into the steps to achieve this intriguing cross-platform setup.The Apple Silicon Advantage
Apple Silicon processors, powered by ARM architecture, have gained immense popularity for their impressive power efficiency and performance. These chips have redefined the performance standards for laptops and desktops and Playbooknstrated potential for supporting other operating systems, such as Windows.Windows 11 ARM64 Insider Preview
Microsoft’s Windows 11 ARM64 Insider Preview offers an exciting opportunity for users to experience Windows 11 on ARM-based devices. This includes support for ARM64 architecture, allowing it to run seamlessly on ARM-based processors, such as Apple’s M1, M2, and potentially M3 chips.See also: Install Ansible on macOS Monterey with Homebrew
Links
- https://www.microsoft.com/en-us/software-download/windowsinsiderpreviewarm64
Step-by-Step Guide
While running Windows 11 on Apple Silicon might sound complex, it can be achieved with the right set of tools and instructions. Here’s a step-by-step guide to help you get started.Virtual Machine
- Preparation:
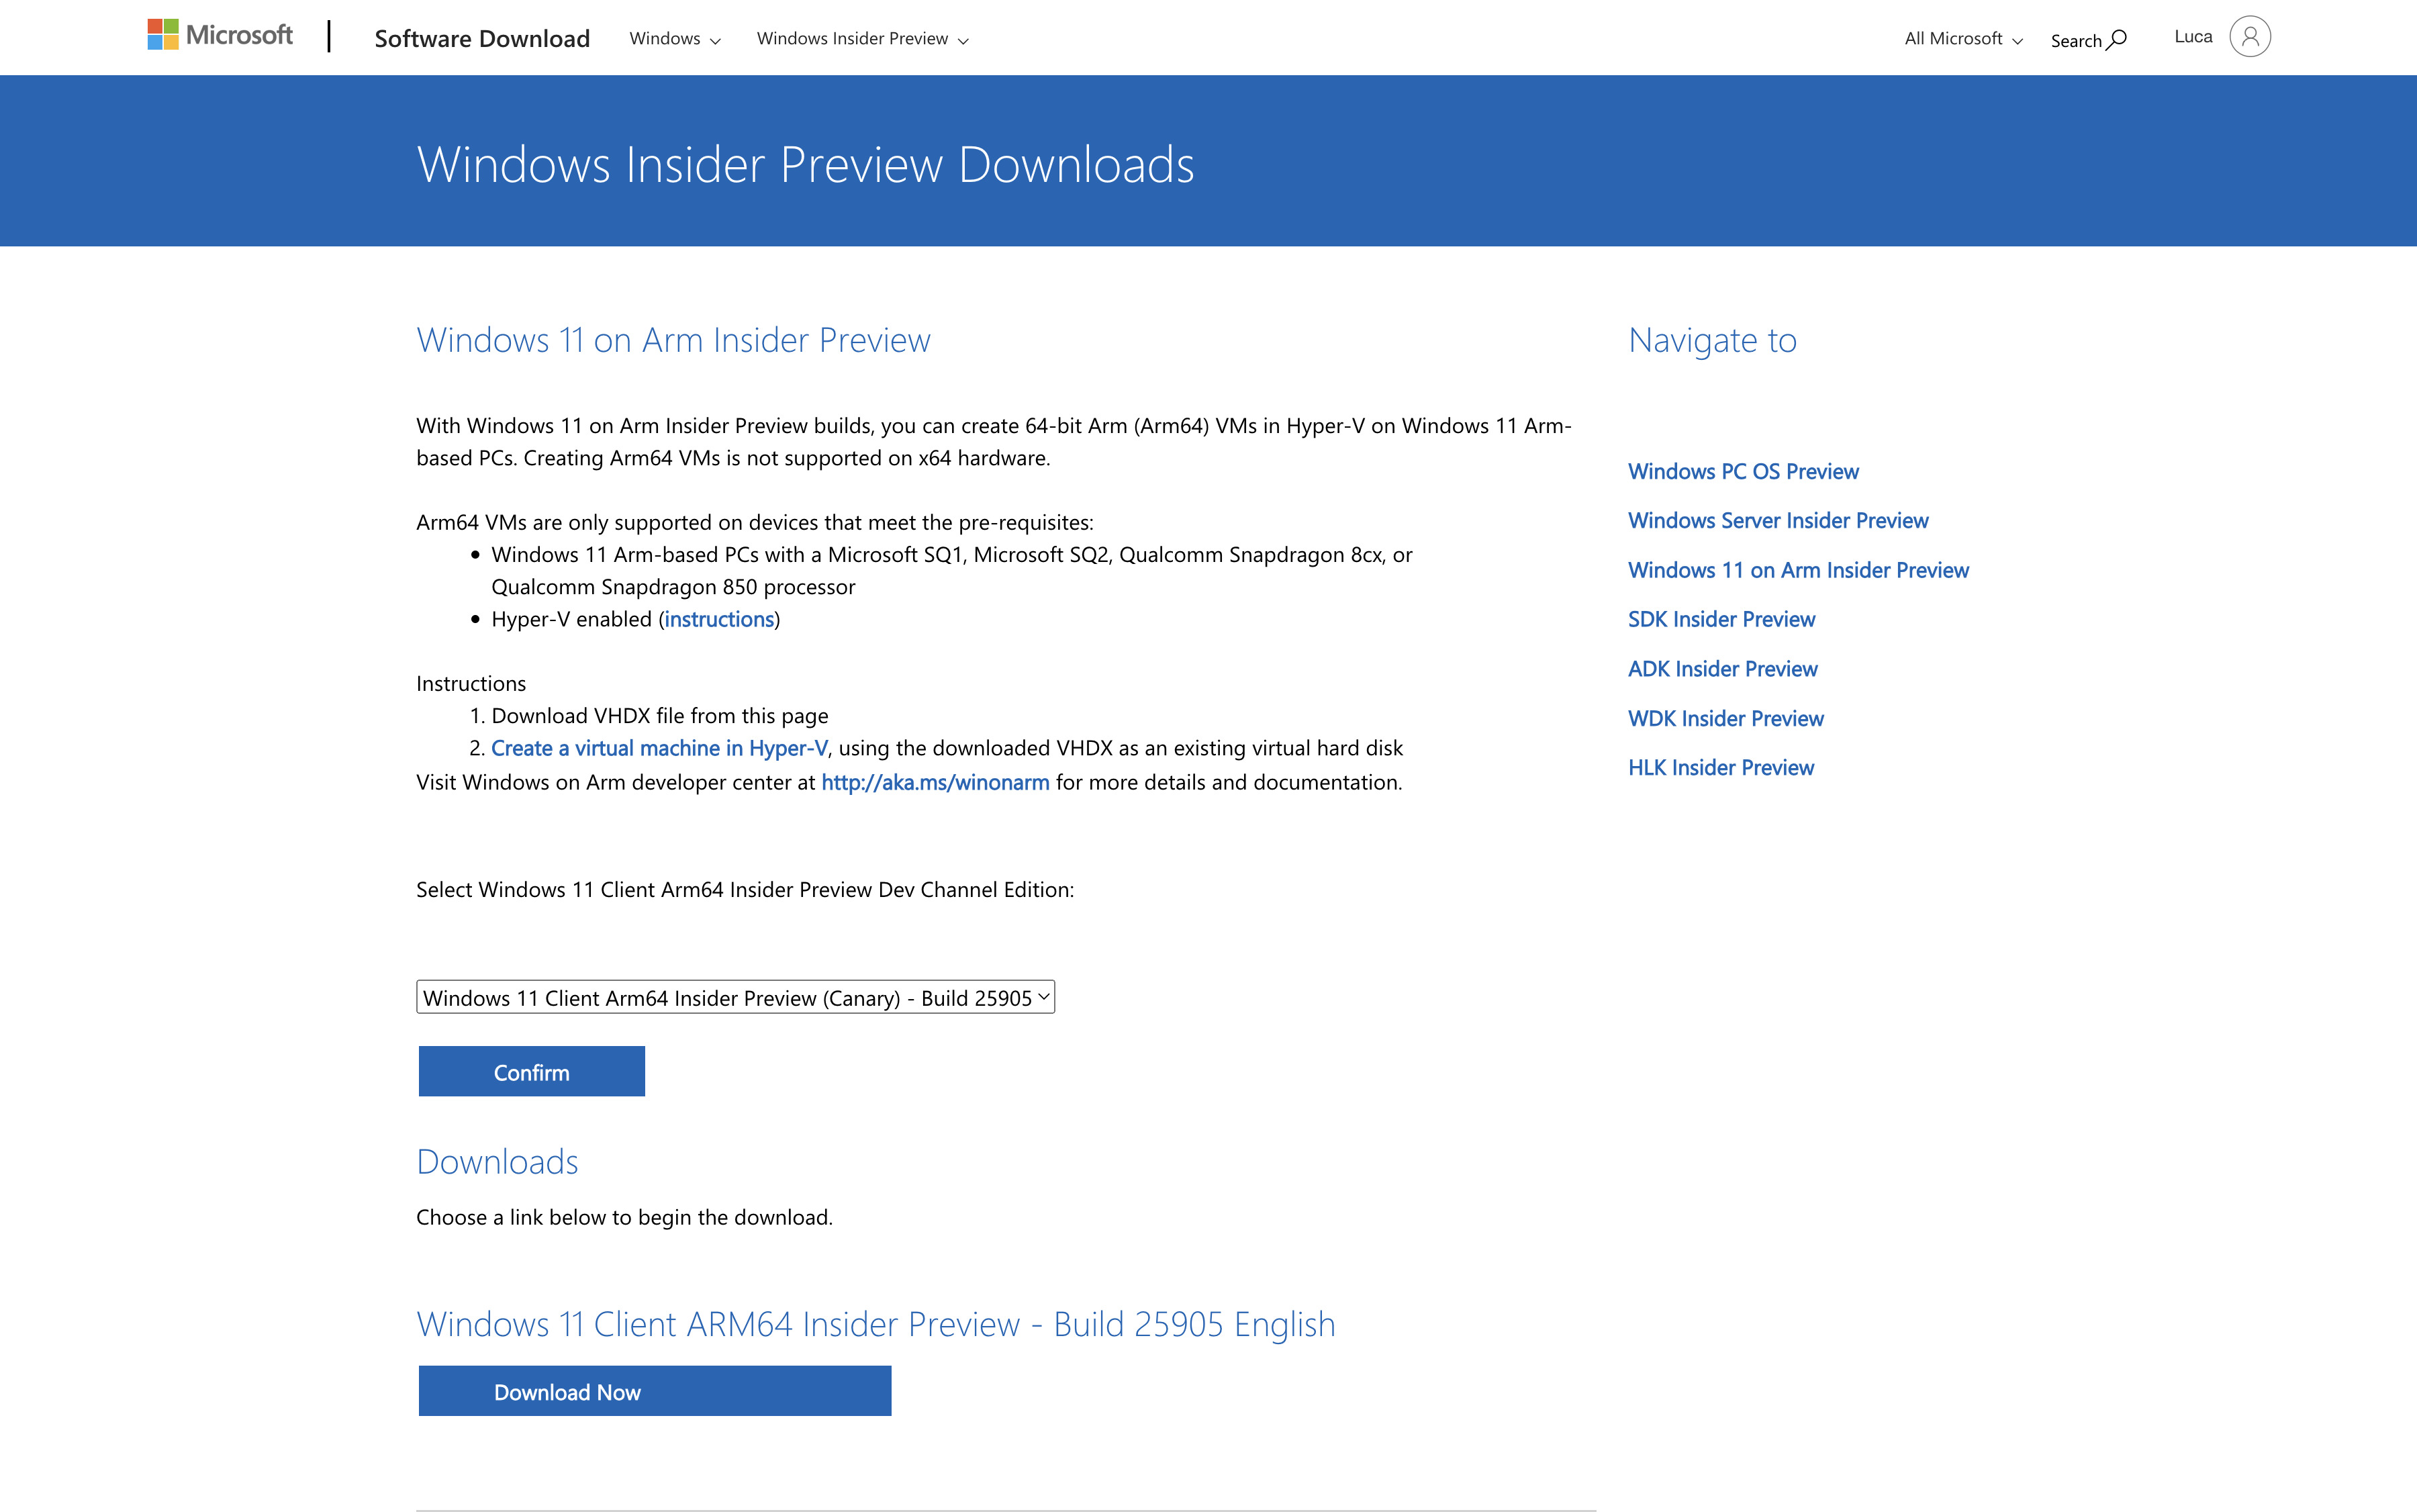
- Install VMware Fusion, Oracle VM VirtualBox, or Parallels Desktop:
- Installing QEMU (Quick Emulator) on your Mac using Homebrew is a straightforward process that allows you to create virtual machines and emulate various architectures. Install Homebrew (if not already installed): If you don't have Homebrew installed on your Mac, you can install it by opening Terminal and executing the following command:
/bin/bash -c "$(curl -fsSL https://raw.githubusercontent.com/Homebrew/install/HEAD/install.sh)"- Update Homebrew: It's a good practice to update Homebrew before installing any packages. Run the following command in the Terminal:
brew update- Install QEMU: Once Homebrew is up-to-date, you can install QEMU by executing the following command:
brew install qemu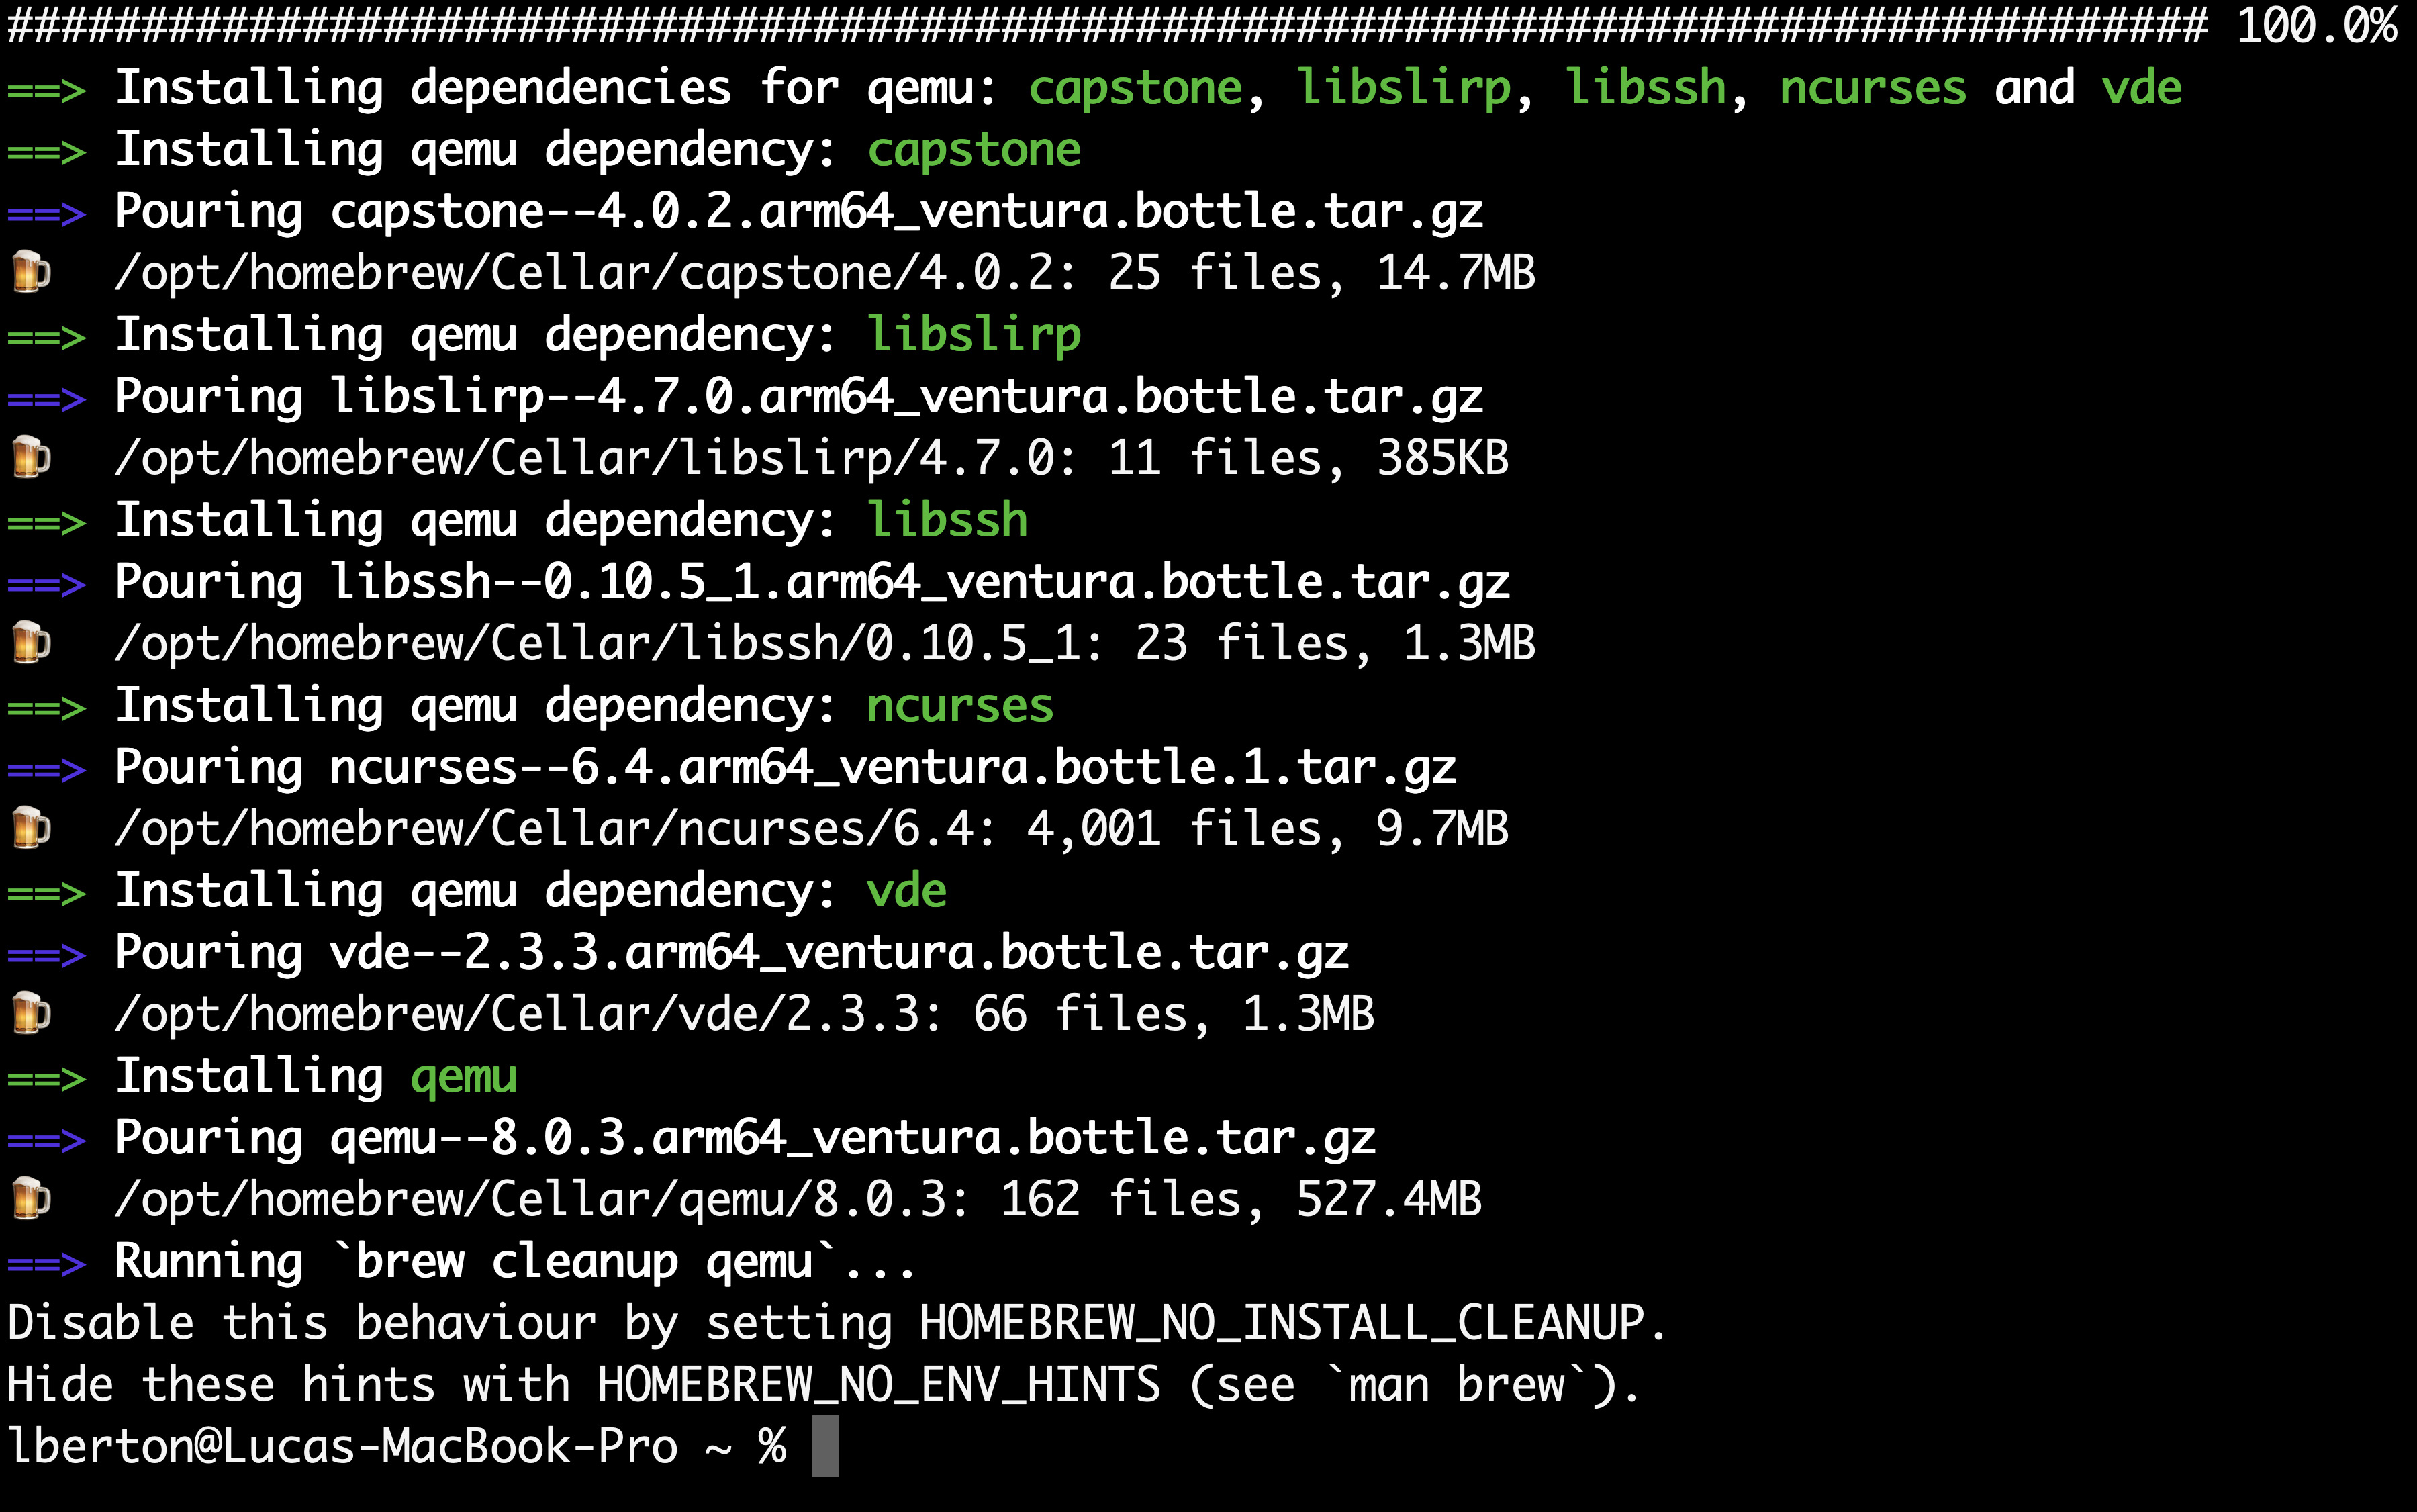
- Verify the Installation: After the installation is complete, you can verify that QEMU has been installed successfully by checking its version. Enter the following command in Terminal:
$ qemu-img --version
qemu-img version 8.0.3
Copyright (c) 2003-2022 Fabrice Bellard and the QEMU Project developers
This command should display the version of QEMU that was installed.- Convert the image from VHDX format (Hyper-V) to VMDK format (VMware):
$ qemu-img convert -O vmdk Windows11_InsiderPreview_Client_ARM64_en-us_25905.VHDX Windows11_InsiderPreview_Client_ARM64_en-us_25905.vmdkThe output look like the following:
$ qemu-img convert -O vmdk Windows11_InsiderPreview_Client_ARM64_en-us_25905.VHDX Windows11_InsiderPreview_Client_ARM64_en-us_25905.vmdk
$ du -hs Windows11_InsiderPreview_Client_ARM64_en-us_25905.*
9.7G Windows11_InsiderPreview_Client_ARM64_en-us_25905.VHDX
9.7G Windows11_InsiderPreview_Client_ARM64_en-us_25905.vmdk- Create a Virtual Machine (VM):
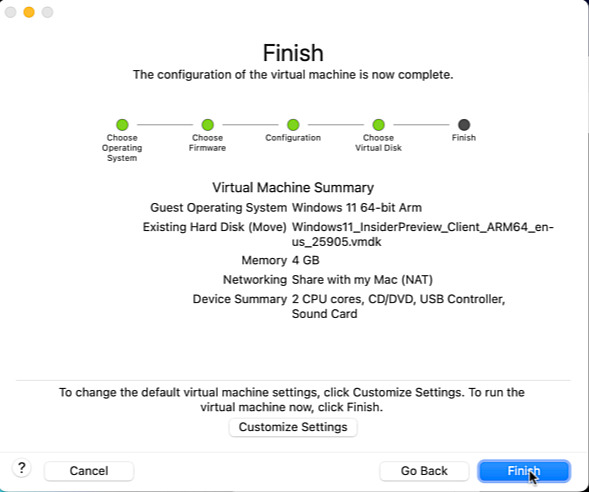
We can adjust VM Settings as our hardware permit:
— Allocate sufficient resources to the VM, including memory and processor cores. — Enable 3D acceleration for better graphics performance.
Setting Up Windows
Since the VMXNet3 virtual network driver required for Windows on ARM isn’t included in Windows Home or Pro editions, you’ll need to follow these steps to bypass network enrollment during the Windows setup process.- Accessing Command Prompt:
- Entering the Command: In the Command Prompt, type the following:
OOBE\BYPASSNROPress the Return key on your keyboard. This command enables you to skip network enrollment but will first restart the Windows Setup process.
- Selecting Country/Region: US/United States of America
- Choosing Input Method: US
- Skipping Keyboard Layout: On the second keyboard layout page, click the “Skip” option.
- Configuring Network: When you reach the network page, choose “I don’t have Internet” and proceed by clicking “Continue with limited setup.”
- Accepting License Agreement: Click “Accept” on the License Agreement page.
- Entering User Details: username Enter your name and click “Next.”
- Setting Password (Optional): If you wish, you can set a password and then click “Next.”
- Privacy Settings: Disable all privacy settings and click “Accept.”
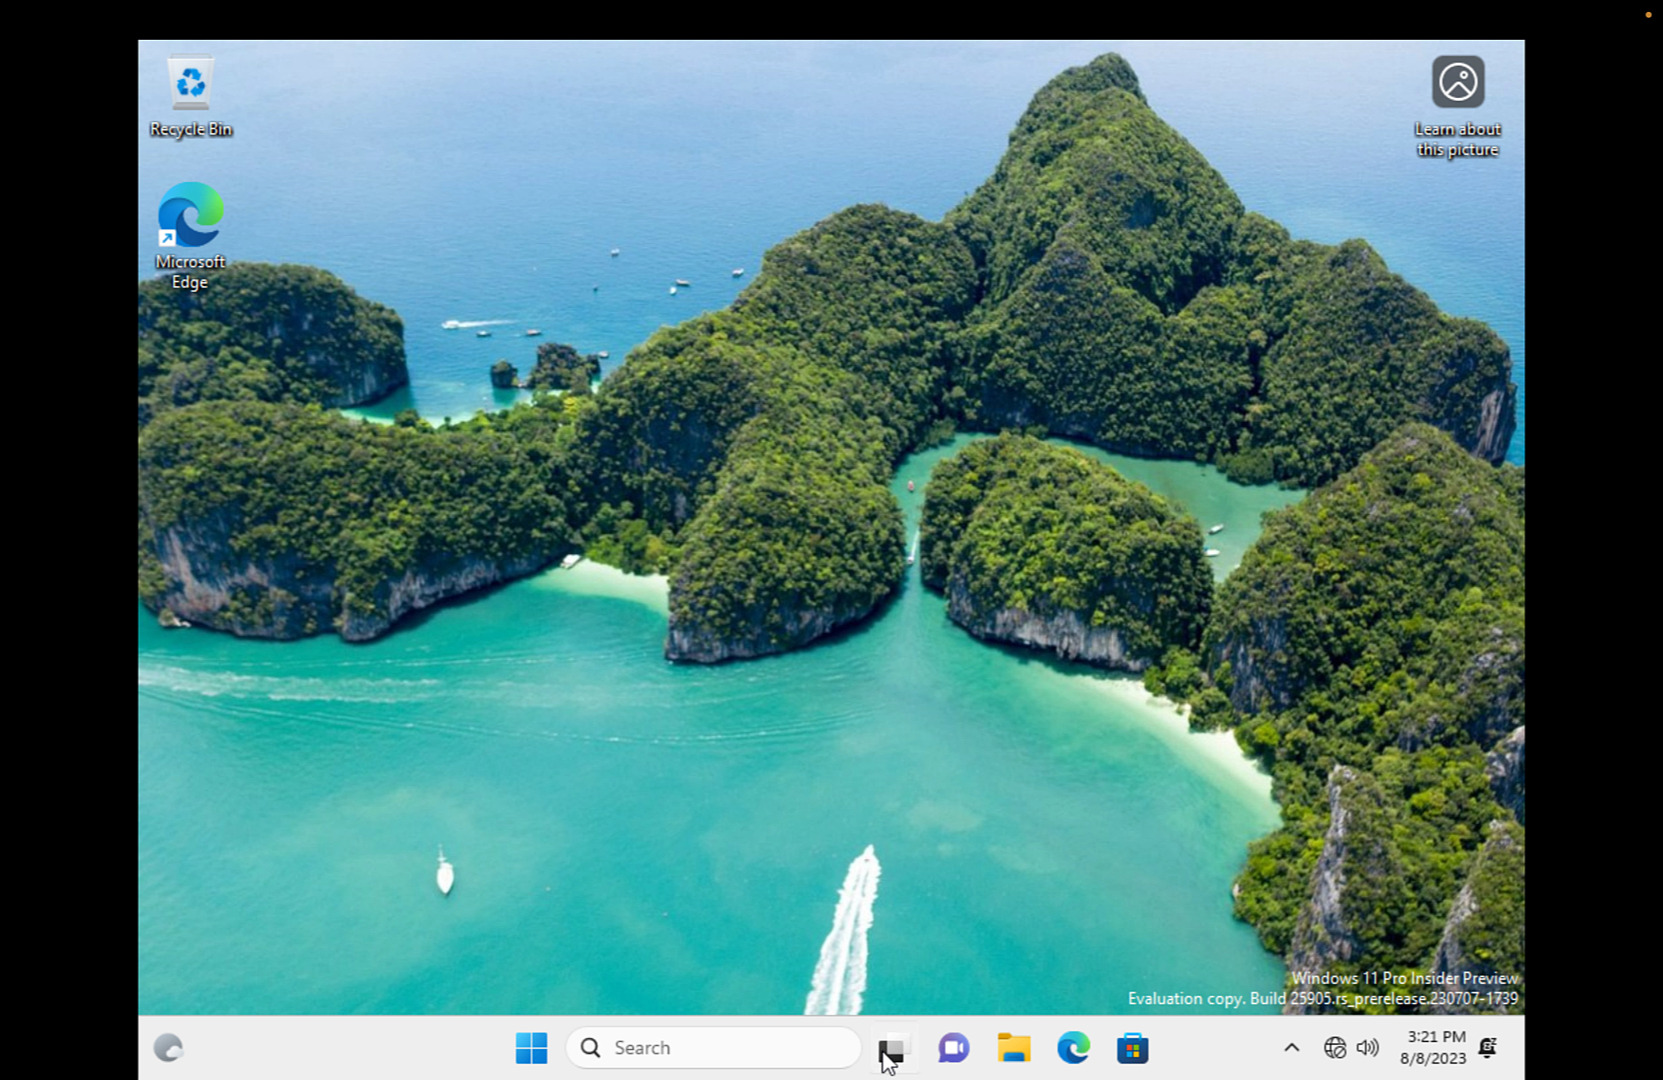
VMware Tools
Before configuring your network connection and adjusting display resolution settings, installing VMware Tools is crucial. This step is essential for seamless functionality.
Open PowerShell as Administrator
- Click the Windows Start menu and type “PowerShell” in the search box.
- Right-click on PowerShell and choose “Run as Administrator.” If this option isn’t visible, select “Run as Administrator” after clicking on PowerShell.
- Inside the PowerShell prompt, type the following:
Set-ExecutionPolicy RemoteSigned- Press Enter to execute the command. When prompted, type ‘Y’ and press Enter to confirm the change in execution policy.
- Type “Exit” and press Enter to close the PowerShell window.
- Reinstall VMware Tools
- In the VMware Fusion menu bar, click “Virtual Machine.”
- Select “Reinstall VMware Tools” and click “Install” on the prompt that appears.
- Run VMware Tools Setup
- Open Windows Explorer and navigate to the DVD drive.
- Ensure that the VMware Tools setup is mounted. Look for a Setup.ps1 PowerShell script at the root of the DVD drive.
- Install VMware Tools
- Right-click the Setup PowerShell Script and choose “Run with PowerShell.”
- Click “Yes” on the User Account Control pop-up.
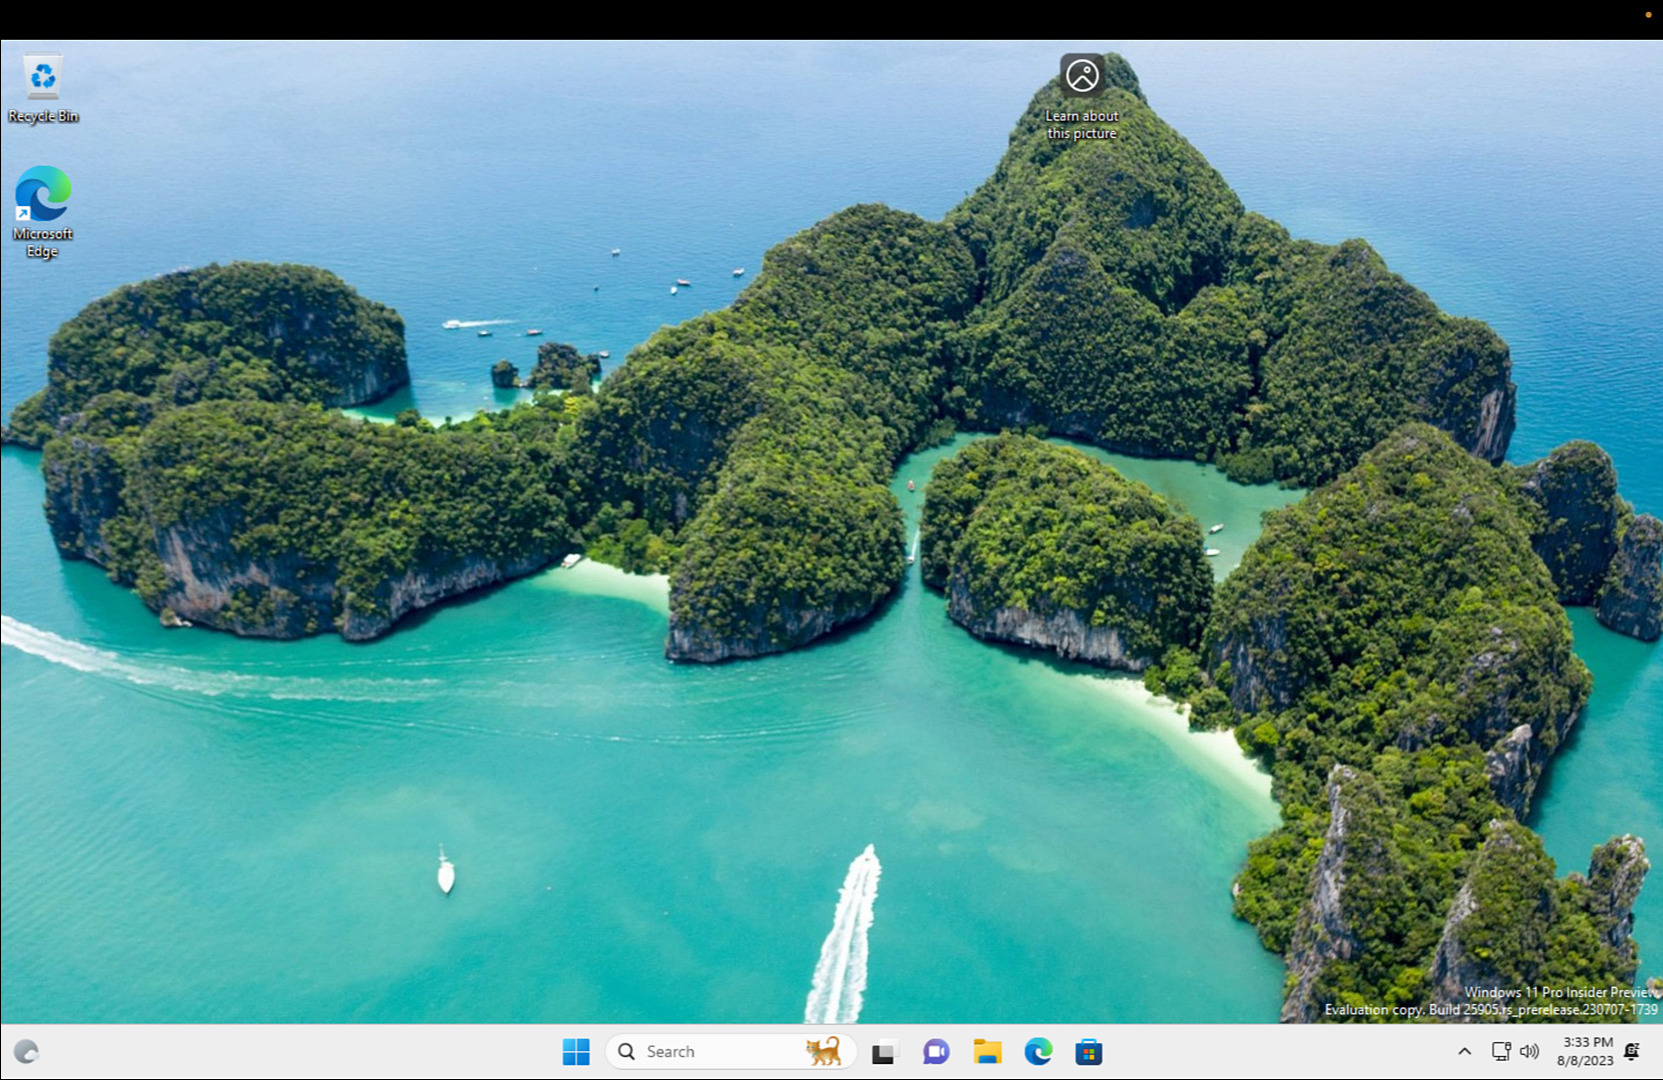
Enjoy Windows 11 on Apple Silicon: Once the setup is complete, you can enjoy using Windows 11 on your Apple Silicon device.
See also: Install Visual Studio Code: Manual, Homebrew, Ansible Methods
Conclusion
Running the Windows 11 ARM64 Insider Preview on Apple Silicon devices like the M1, M2, and potentially M3 chips is an exciting endeavor that allows users to experience the synergy of two cutting-edge technologies. With the right tools and guidance, you can seamlessly set up a virtual machine to enjoy Windows 11 on your Apple device. Keep in mind that this process involves some technical intricacies, and there might be limitations and compatibility issues, but it undoubtedly showcases the ever-expanding capabilities of modern computing. As Microsoft and Apple continue to innovate, the potential for even more refined cross-platform experiences remains a tantalizing prospect for tech enthusiasts and professionals alike.Related Articles
Category: installation